I’ve learned that simplicity often delivers the strongest results—especially in property photography. While gear-heavy setups might impress in theory, the reality is that most of my best interior work has been created using a single off-camera strobe, a tripod, and a keen eye for composition.
In this genre, your skill matters more than your kit. Understanding how to shape light subtly, compose thoughtfully, and polish meticulously in post-production is what separates a competent listing from a truly compelling image set.
One Light, Done Right
My go-to setup is deceptively simple: one off-camera strobe, bounced to fill and balance ambient light. It’s a minimalist approach that allows for fast movement through a property, reduced setup time, and more focus on the craft of image-making—rather than constant light repositioning.
I don’t aim to “light the whole room” with artificial light. Instead, I use my strobe to:
- Lift shadow areas without killing natural ambience
- Balance exposure between rooms, especially in dark corners or north-facing spaces
- Clean up colour casts caused by mixed lighting sources
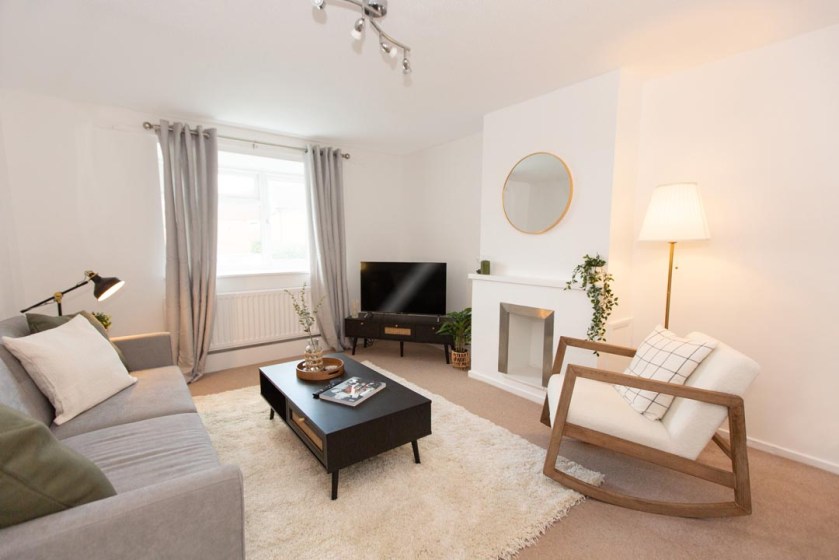
By bouncing a single strobe off a ceiling or wall—always out of frame and often handheld or quickly adjusted between shots—I can produce images that feel both natural and professional. This style also blends more seamlessly with natural light, which estate agents and accommodation clients increasingly prefer.
Composition First, Always
Lighting gets a lot of attention in property photography circles—but honestly, composition is what makes or breaks a set. Clean, balanced, and deliberate framing helps a potential buyer or guest mentally step into the space.
Some fundamentals I live by:
- Shoot wide, but not distorted – I favour 16–24mm on full-frame, but always correct distortion and keep verticals vertical in post.
- Work from the corners – Diagonal lines lead the eye and showcase space better than flat, front-on shots.
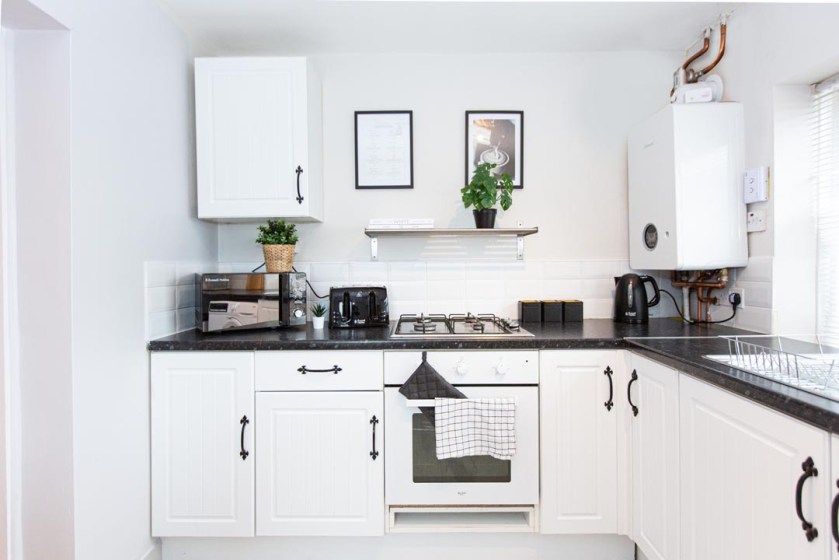
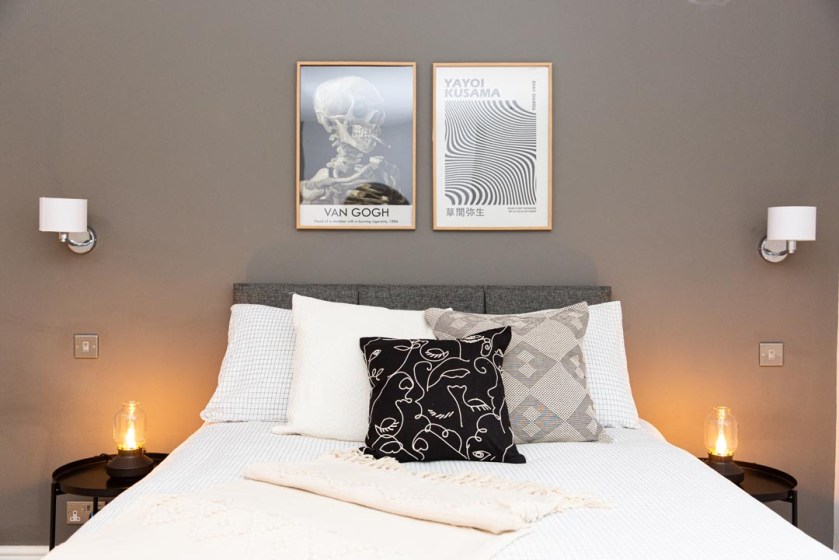
- Use symmetry where possible – Especially for kitchens, bathrooms and bedrooms. It gives a calm, professional feel.
- Mind the edges – Avoid awkward cut-offs of furniture, rugs, or lighting fixtures. Everything in the frame should feel intentional.
- Balance negative space – Don’t feel the need to fill every part of the image. Let the room breathe.
Before pressing the shutter, I always ask: What’s the story of this room? What do I want people to feel when they see this image? Then I build the frame around that.
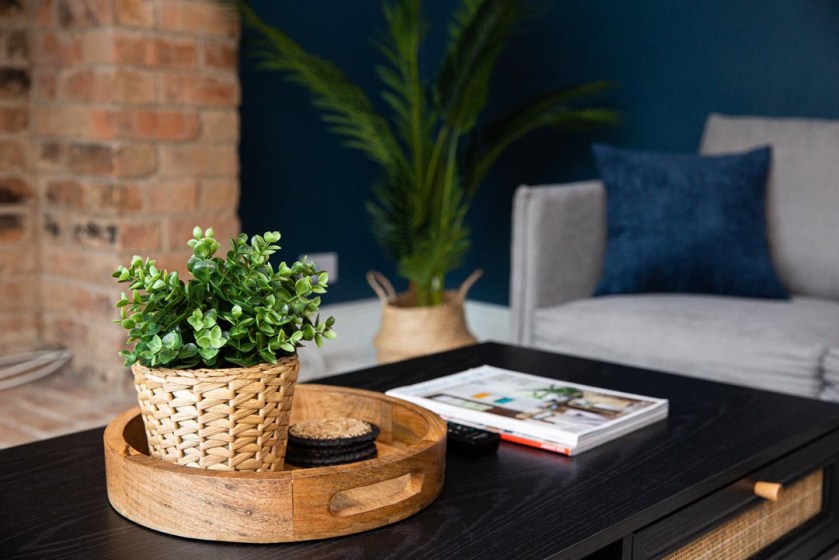
The Devil’s in the Details
Small adjustments can dramatically elevate a shoot:
- Straighten rugs and throws
- Hide cables, plugs and bins
- Fluff cushions and plump pillows
- Align chairs and bar stools with symmetry in mind
- Turn off overly warm lights unless they add atmosphere (you can balance colour in post, but avoiding mixed lighting from the outset helps)
A few seconds of styling per room can save 20 minutes of retouching later—and make your set feel elevated and editorial rather than rushed.
Smart Retouching Workflow
Because I shoot with a single strobe and favour a natural-light look, I build a lot of polish in post. But I’m not talking about HDR stacking or garish over-editing. My workflow is designed to enhance realism while keeping everything clean and bright.
Here’s a breakdown of my post-production process:
1. Base Adjustments in Lightroom or Capture One
- Lens corrections (profile, chromatic aberration, distortion)
- White balance fine-tuned for consistency across the set
- Lift shadows slightly while protecting window highlights
- Basic perspective correction (especially for verticals)
2. Retouching in Photoshop
- Sky/window replacements only when needed—often I keep it bright and blown out for a natural feel
- Clone or heal out distractions: wall marks, scuffs, cords
- Remove strobe reflections in shiny surfaces (fridges, gloss cabinets, floor tiles)
- Dodge and burn to enhance depth in larger spaces
3. Final Images
I always ask the client pre-shoot, what the final usage for the images will be – to ensure that the final images supplied are in a format best suitable for the final use, along with the usual high res versions.
The Client Experience: Light, Fast and Professional
Working with a single-light setup doesn’t just benefit you—it benefits your clients too.
- Faster shoots mean less disruption to tenants or homeowners
- Consistent style helps build your reputation and client trust
- Professional results without the fuss of a large team make you a go-to option for agents, developers and accommodation providers
If you shoot serviced accommodation or short-term lets, this is even more important. Clients in this space expect quick turnaround, lifestyle polish, and visual consistency across multiple properties.
When to Add to the Team
Most of my shoots are solo—but there are occasions where an extra pair of hands makes sense. A photographer’s assistant can help move lights, reposition props, or hold bounce cards—especially on large shoots or properties with complex layouts.
For styled or showhome shoots, working with a professional interior stylist can dramatically elevate the result. And for lifestyle work (modelled shots in homes or Airbnbs), a compact team with a makeup/hair artist and talent can turn a portfolio piece into a full marketing campaign.
But the fundamentals stay the same: one light, good composition, and attention to detail.
Final Thoughts
Great property photography isn’t about showing every square foot—it’s about showing potential. It’s about making a space feel clean, welcoming, and full of possibility. And you don’t need a van full of lights or a crew to do that.
With a single strobe, a strong eye for composition, and a thoughtful retouching workflow, you can produce images that feel both authentic and refined. The kind of images that help a listing stand out. That elevate a brand. That earn you repeat clients.
So next time you’re packing for a shoot, remember: the light you bring is just a tool. It’s your eye, your instinct, and your intention that create the magic.
